If you're installing large format glass tile (per ANSI A137.2, any tile larger than 3” x 3” or nine square inches) in a shower, do you know what steps to follow and questions to ask? As we've mentioned in previous articles, installing tile in showers requires careful preparation given the extreme environment working showers create. Large glass tile can add to the complexity.
>> See How to Deal with Tile Discoloration in a Shower
In this article, NTCA Technical Trainer Mark Heinlein CTI #1112 shares his advice on how to prepare for this project which involves 3x12 glass tile (aka subway tile) which is considered a large format for glass.
Installing Glass Tile? Here are the 10 Steps to Follow and the Questions to Ask
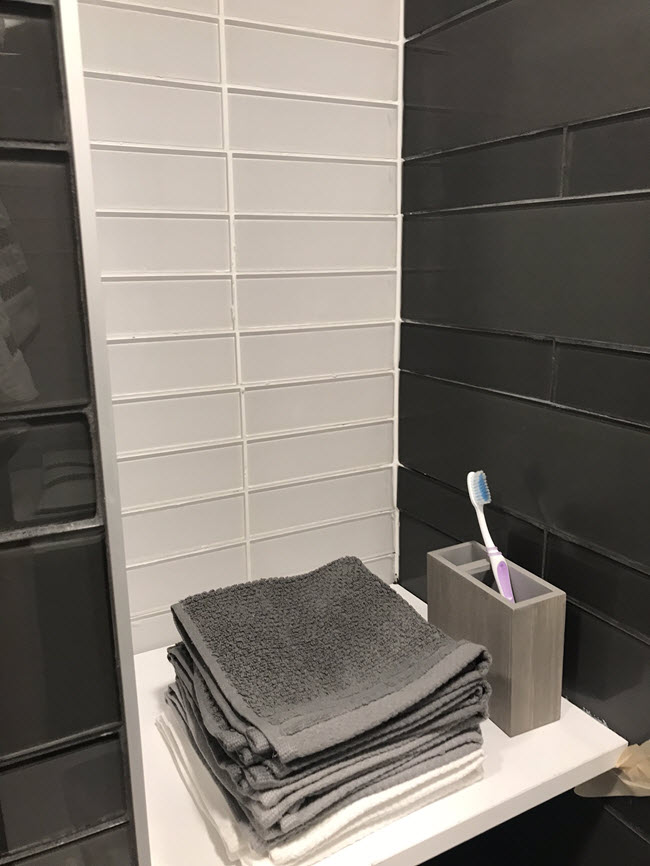
Glass subway tile makes for a beautiful wall tile, especially around water where the shimmer of water makes the translucence of glass stand out.
At the same time, if not handled properly, installing glass in showers can be problematic especially in a large format. Suspect culprits include:
- Glass tile that isn't intended for use in a shower environment
- A substrate that hasn't been adequately prepared and exhibits deflection
- Thermal shock
- Not using mortar that is appropriate for glass tile
- Inadequate curing times
- Not including movement or soft joints at changes in plane.
The success of a glass tile shower installation requires that you plan ahead and ask lots of questions. Here are the ten steps to follow and questions to ask before installing large format glass tile in a shower.
Step 1. Obtain installation instructions from the glass tile manufacturer or distributor
Contact the manufacturer of the glass and ask for installation instructions.
Ask what setting material is recommended and whether their tile is acceptable for use in a shower. If there are no instructions, ask the distributor for help. If there still are no instructions available, find another glass manufacturer that does provide written instructions.
Only the manufacturer knows their glass and how it will react to or be affected by deflection, thermal shock, mortar adhesion, and curing. Obtaining the manufacturer's instructions is a critical first step.
>> See Do You Ignore Grout Manufacturer Directions?
Step 2. Select a waterproofing membrane or substrate
In a wet environment, the best option is to have a waterproofing membrane or waterproof substrate.
Issues related to mortar curing merit the same concern no matter which membrane or waterproofing system or substrate is used.
Review the membrane and substrate manufacturer's literature and contact their technical department to discuss this with them.
Step 3. Ensure the substrate is flat with no deflection
No matter what substrate is used, ensure it is flat and has very limited or zero deflection.
Large format glass is especially susceptible to breakage with movement and deflection. A flat substrate will help ensure your bond coat coverage is uniform. This will help ensure it cures evenly and thoroughly.
>> See Have You Adequately Prepped the Substrate for Tile?
Step 4. Select the proper mortar for glass tile
Talk with the setting material manufacturer regarding the selected mortar. Some manufacturers make a very specific mortar for glass tiles which are actually labeled "Glass Tile Mortar". Make sure you consider these specialized mortars.
Make certain that the mortar adheres extremely well to the glass and especially to the backing which holds the glass in place.
Another concern is that the mortar doesn’t shrink as it cures. If it does, significant stresses on the glass could cause it to de-bond, crack as it cures, or potentially crack even after it has cured.
Step 5. Plan on extended mortar cure times
An extended mortar cure time is required before grouting and applying sealant to changes in plane.
The mortar manufacturer can help you determine what is the correct cure time. Do not let this part of the process be rushed by the owner or other trades.
Step 6. Include expansion joints
As with all tile installations, it is especially important with glass to honor every change in plane with a soft movement/expansion joint. There must be a clean, straight, open joint at all changes in plane which include inside corners, floor to wall, wall to ceiling, and columns.
>> See Why Do You Need Expansion Joints When Installing Tile?

Step 7. Anticipate the likelihood of thermal shock
Large format glass tiles (glass tile larger than 9 square inches) are very susceptible to thermal shock.
- When cool glass is hit by hot water or steam (could be anywhere in the shower), the glass can expand rapidly and crack.
- If the space is air-conditioned (or even if not) the temperature changes in the glass can be extreme and fast.
Some glass can’t handle these extreme changes in temperature. Some cracks may occur quickly while some may only show up over time.
Again - cracking from thermal shock can occur anywhere in the shower. If the substrate expands and contracts from thermal changes, it too may have an adverse effect on the glass.
Step 8. Use 100% silicone sealant rated for glass adherence
All changes in plane must be filled with a 100% silicone sealant rated to adhere to glass. If you are not familiar with these products, your setting material manufacturer can help you determine which one is best.
Step 9. Embrace a "system" approach for setting materials
Using a system approach for installation materials including mortar, grout, sealant, and, depending on the system you are using, the substrate and waterproofing is a wise choice.
This will ensure all components are designed to work well together and the manufacturer will stand with you to warrant the installation.
Step 10. Review your tile installation manuals for best practices
Finally, review the discussions on large format glass tile that you can find in the NTCA Reference Manual, the TCNA Handbook, and ANSI A137.2.
>> See NTCA Reference Manual: An Invaluable Tool for the Tile Industry
>> See ANSI Standards: A Tile Installer's Best Friend!
Become a Certified Tile Installer
There are many items that need to be done correctly in any tile installation, especially in a shower and particularly in a shower with large format glass. Doing all the planning and research upfront will help you ensure success in your project.
If you haven't already, consider becoming a Certified Tile Installer (CTI). As a CTI, you set yourself apart from the crowd and know how to anticipate tile installation problems before they occur. Do it right the first time and get paid accordingly.

Note: We originally published this article on 08/22/2017, and have updated it.