Do you spend time ensuring that your tile layout is centered and balanced, with no small cuts? I hope so since this is the most effective way to ensure that a tile installation has a professionally installed appearance.
What makes a tile installation look professional? A good layout.
The American National Standards Institute (ANSI) specifications provide language that guides the installer on the correct path to a good layout. ANSI A108.02-4.3 Workmanship, cutting, fitting, and grout joint size speak to this situation.
>> See ANSI Standards: A Tile Installer's Best Friend!
Centered and balanced tile layout
Section 4.3.1 makes this statement;
“Center and balance areas of tile, if possible.”
This language directs the installer to provide a layout where the tile on the left is the same size of the cut on the right.
Similarly, the cuts at the bottom of the installation should be the same size as the cuts at the top. This sounds simple and it should be. The words “if possible” cover those situations where no matter how much effort is placed in the layout process, equal cuts are not possible. This does occur from time to time, but this statement is not made to cover the lazy installer who doesn’t take the time to do it right the first time.
Minimize small cuts
In addition, section 4.3.2 states;
“An excessive amount of cuts shall not be made. Usually, no cuts smaller than half size should be made. Make all cuts on the outer edges of the field.”
Normally, common sense would tell you not to install a lot of small pieces into the installation which would look bad and reflect poorly on the installer. There are however times when a pattern or mosaic would employ numerous small cuts, but that would be an appropriate part of the design.
Making cuts smaller than half a tile is an appearance issue and should be avoided. An otherwise good installation can be ruined by sliver cuts along the wall. It is like a neon sign saying, “Poor quality work exists here.”
Place cut tiles outside the layout
The last part of this specification directs the installer to place the cut tiles to the outside of the layout where they can be easily covered with a molding along the floor or a sealant joint on the inside corner of a wall.
When an installer, who falls under the Qualified Labor category in the TCNA Handbook, follows these guidelines, the consumer receives a high-quality installation that is easy on the eyes for many years.
Not sure what an unprofessional tile installation layout looks like?
We’ve all seen them; tile installations that at first glance look okay, but then, there they are… the small and unbalanced cuts in the corners. Are they properly sized or are they whatever is left over?
The image below captures what we're talking about.
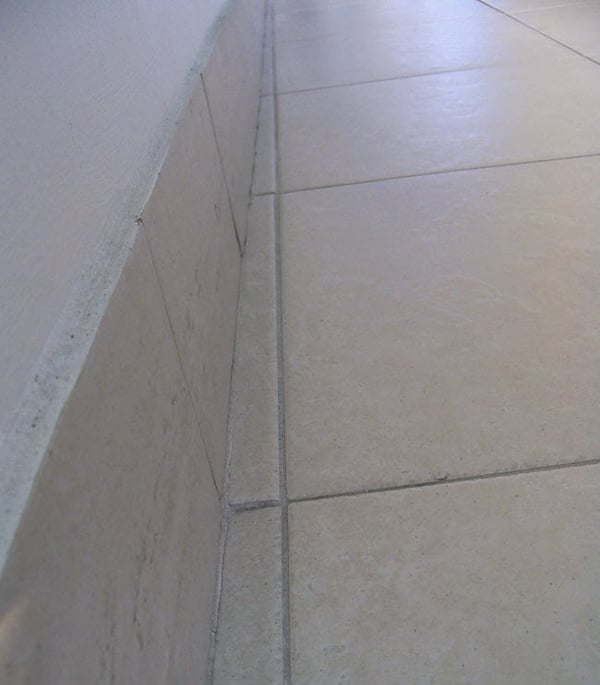
In this layout, the resulting small cuts many times will disappear if the wall is crooked or can appear wavy if the wall is not straight.
Even if the wall is not straight or properly aligned (as it should be), had the tile cuts been half size or larger, the wavy or crooked wall would not be as recognizable since the grout joint would have been further away from the wall.
If you need more proof that these types of installations occur, check out How Not to Install Tile on Floors, Walls, and in Showers.
As the image unfortunately confirms, not every tile installer uses the industry standards and best practices which, when followed, provide a professional appearance.
>> See The Tile Installation Experience with Scott Carothers at Coverings
An often-used way to install tile (although not appearing unprofessional) by the tile placer - we can't call him or her an installer since their work is not up to industry standards - is to start with a full tile at one wall and a cut of whatever size ending up in along the opposite wall.
This trick is employed to supposedly save tile; a full tile has no waste and/or saves time by not having to layout the area appropriately.
Why tile layout is such a critical part of the Certified Tile Installer hands-on test
It shouldn't come as a surprise to you that the hands-on test for the Certified Tile Installer program places a great deal of attention on tile layout and ensuring that the final installation is centered, balanced, and with few cuts.
>> See Grading the Toughest 25 Square Feet of Tile You'll Ever Install (Video)
Do your tile installations look professional?
If not, consider enrolling in the Certified Tile Installer (CTI) program where you will learn this and other proper techniques used by Qualified Labor. Do yourself and your customers a favor and become a part of this elite group of tile installers.
Note: We originally published this article on 05/08/2018, and have updated it.


