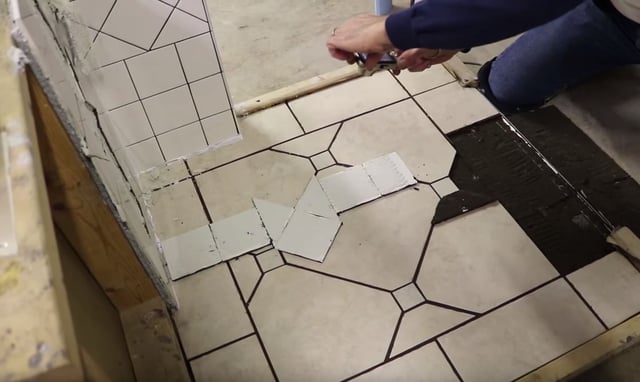
For those who are unfamiliar with the Certified Tile Installer program, tile contractor Salvatore DiBlasi put together a two-part video series documenting not only what's involved, but also how the hands-on test is graded.
>> See Video Details Hands-on Certified Tile Installer (CTI) Test for part one.
Tile contractor Sal DiBlasi is the owner of Elite-Tile Company on Boston’s North Shore. He also publishes videos about tile installation every Saturday on his Sal DiBlasi YouTube Channel.
Perspective on the CTI Program
The Ceramic Tile Education Foundation launched the Certified Tile Installer (CTI) program in 2008 to provide a means for good, knowledgeable tile installers to verify their skills and promote themselves to potential clients and employers.
For consumers and homeowners, it provides a mechanism for identifying the level of proficiency of prospective tile installers. It also encourages them to use only the best-qualified installers, ensuring that their tile project is installed correctly from the beginning, and looks beautiful for years to come.
This certification program is particularly valuable as there are no national or consistent state-to-state guidelines for tile installation when industry standards exist.
That's why the Certified Tile Installer (CTI) program comprehensively tests the skills and knowledge of experienced tile installers via an online open-book multiple-choice exam and a hands-on test. Both are based on current industry standards and best practices for producing a sound installation that exhibits good workmanship.
What Goes into Grading the Toughest 25 Square Feet of Tile You'll Ever Install
As you might imagine, the tests require that both the observable and non-observable characteristics of a finished installation be executed properly.
In the case of the hands-on test, CTEF evaluators are able to verify that an applicant has the skills to deliver an installation that meets industry performance and workmanship standards.
Installers must demonstrate their ability to execute a complex layout and proper installation of:
- Vapor retarder membrane
- Backer board
- Tile (walls and floors)
- Cementitious grout
- Flexible sealant (caulk)
For each installation material, the applicant is scored on the various aspects of workmanship relevant to producing an installation that will endure use and satisfy the discriminating client.
Maintaining the Proper Installation of Tile
We'll take you through the grading process that Scott Carothers and the CTI Regional Evaluators take to evaluate the modules from the hands-on CTI test. You'll be able to view Sal's video at the end of the article.
Those who successfully complete the CTI program become Qualified Labor.
What is Qualified Labor?
Qualified labor refers to having the most qualified professional perform the scope of the work you are specifying rather than basing the decision on the lowest price.
The Tile Council of North America (TCNA) Handbook committee strongly recommends using installers who have demonstrated their commitment to their craft and taken the time to stay current with the latest materials and methods. Because tile is a permanent finish, the lowest bid should not be the driving factor, but rather who is the most qualified to perform the scope of the work specified.
The Handbook further defines Qualified Labor being provided by the following non-profit organizations and programs:
- The Advanced Certifications for Tile Installers (ACT),
- The Ceramic Tile Education Foundation (CTEF),
- The International Masonry Institute (IMI) Contractor College Program, Journeyman Tile Layer Apprenticeship Program,
- The Marble Institute of America (MIA) Accreditation for Natural Stone Tile Installation Contractors,
- The National Tile Contractors Association (NTCA) Five Star Contractors Program,
- The Tile Contractors’ Association of America (TCAA) Trowel of Excellence Program.
Don't Underestimate the Hands-On CTI Test!
The test is intense and difficult.
As Scott explains,
"To pass, a qualified tile installer needs a cumulative score of 85%. We've set a high bar to ensure the consistent quality of the process. We routinely hear from installers taking the CTI tests that "it's the toughest 25 square feet that you will ever install"."
What the CTI Hands-on Test Evaluators Look For When Grading Tile Installation
As you'll see in the video, Scott takes photos of the entire installation both overall and in detail. Evaluators look to document every aspect of the installation. That makes it easier to explain decisions and even make suggestions for future improvements.
Evaluating the appearance of the tile installation
You'll notice that the installation requires numerous tile cuts.
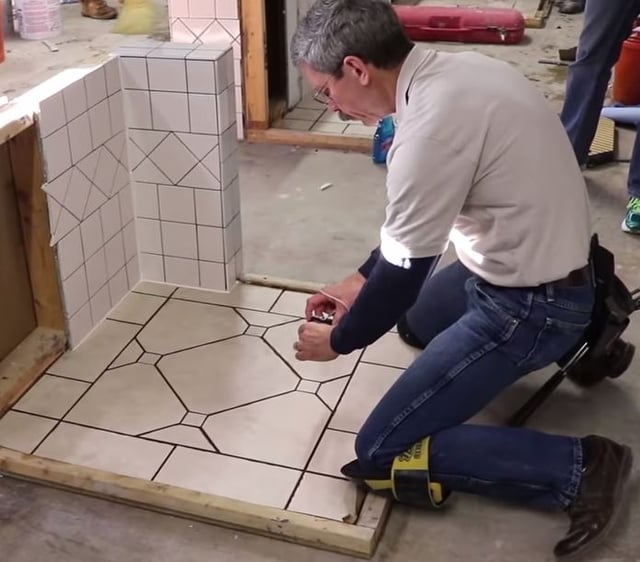
Scott evaluates the floor tile for lippage; he checks whether it is within ANSI Standards of 1/32".
Below, you see him checking the inside corner wall. He is checking expansion joints as they are critical for a high-quality installation. Expansion joints mean the ability for movement from wall to wall and floor to wall applications.
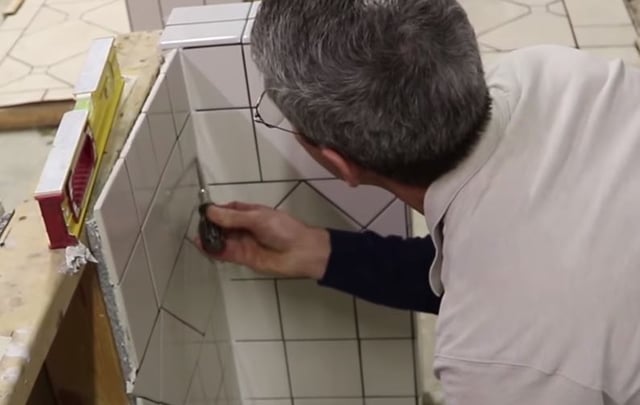
Below, Scott checks for thinset or grout that may have been allowed to remain behind the sealant joint. There should be nothing in that area except for a backer rod and 100% silicone sealant, otherwise, the installation may fail in real life.
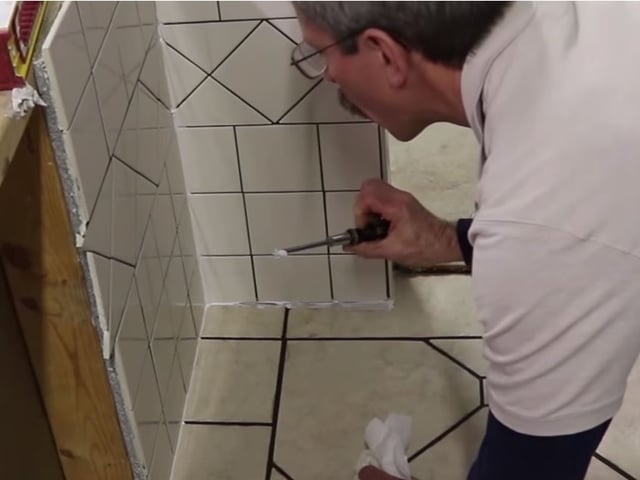
Next, he checks the wall tile for balance. More specifically, are the left and right cuts equal in size, and are the bottom and top cuts equal in size?
He looks at the diagonal band to confirm that the triangle to the left and the right are equal in size.
Everything throughout this test installation should be centered and balanced on the wall tile.
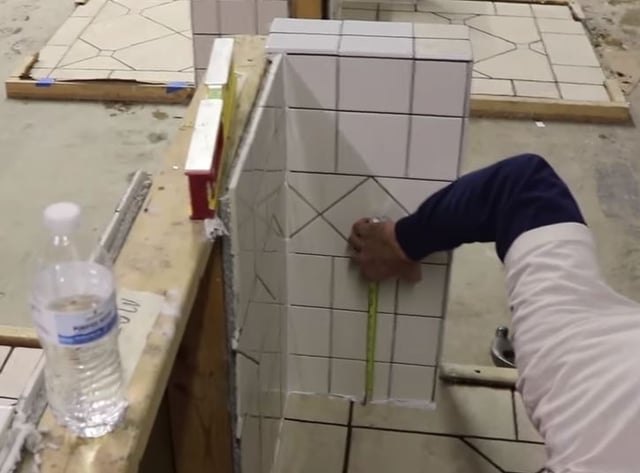
Scott checks the installation for both level and plumb on all three walls.
This is an important aspect of the overall appearance. The tile below the band and above the band must be plumb and in line with each other. You'll notice that the grout joints all line up horizontally and vertically.
Below, you see Scott checking for flatness with a level. He is confirming that there are no bows or low spots in the wall. He will also check with the level at a diagonal to confirm that this is a flat installation.
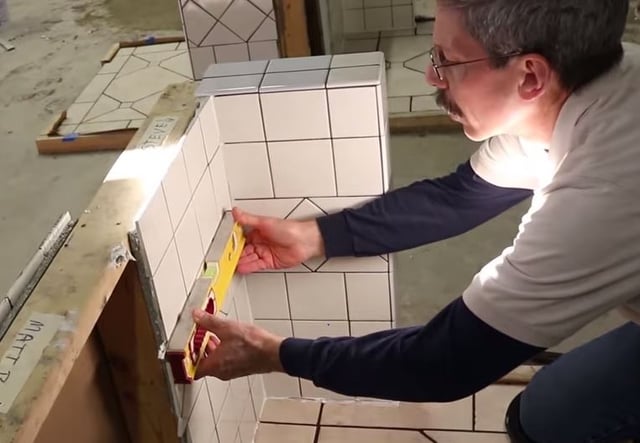
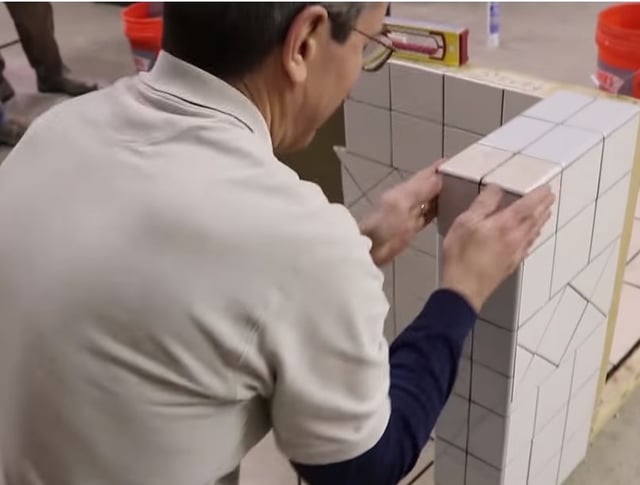
Below you see Scott checking the bullnose with his hands as it addresses the cut tile coming up the wall. Again, he's looking for a good flat installation where the edge of the bullnose tile is flush to the field cuts.
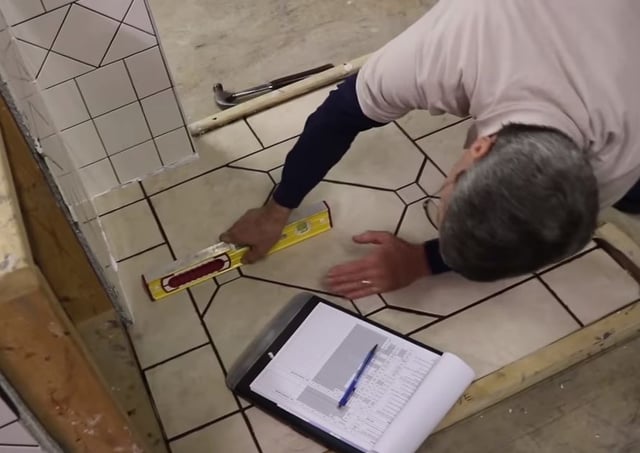
Moving from the walls to the floors, Scott checks the insert dots in the floor to make sure that they are flush with the floor tile both left and right and north and south.
He wants the dots to be flat with no lippage occurring.
Scott also checks the border cuts to make sure that the cuts north and south are of equal size and that the left and right cuts are the same size for an installation that exhibits good center and balance.
Evaluating What's Underneath the Installed Tile
Equally important is evaluating what's underneath the installed tile. So the next part of the evaluation is doing just that, taking the tile off to check for coverage.
Originally, the evaluator did this. Now, the installer takes the tile off while the evaluator makes notes. It's not only more efficient but also more educational for the installer.
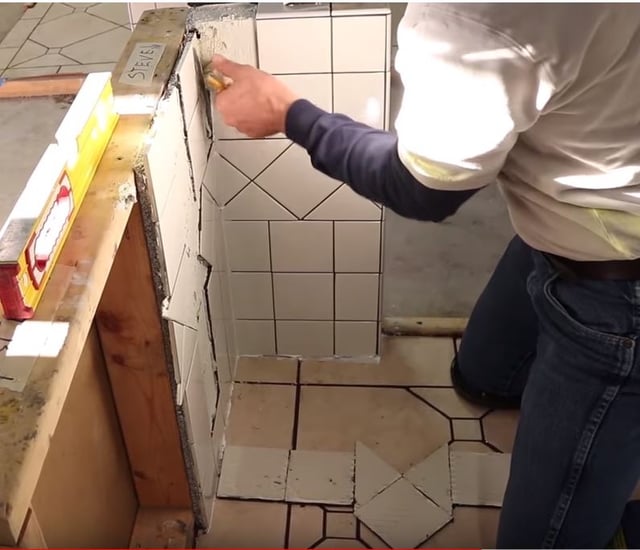
In the image below, Scott removes the tile off the inside corner, checking that the installer used the appropriate backer rod in the installation. Many installers are not used to using a backer rod but it's a critical part so have good installation for the sealant joint.
He is also checking that the joint between the backer board on the knee wall and the back wall is not packed full of thinset mortar. It must stay open which is what is called for in the TCNA Handbook.
Here, he takes photos of the inside corner that was packed tightly with thinset mortar so it can be scored accordingly.
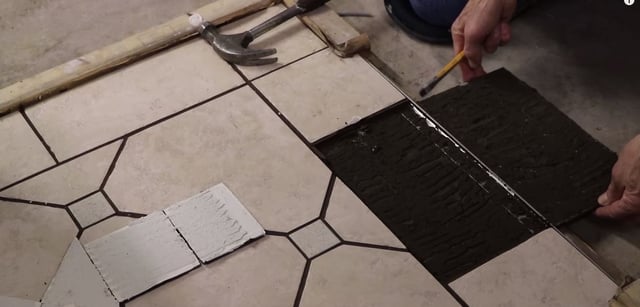
Next, he takes several pieces of tile off the floor to check that they have the required 80% coverage needed for a dry installation.
He also checks whether the metal L angle at the door opening has been properly installed with adequate mortar underneath ensuring that it is locked in place.
He carefully checks full tiles and cut tiles, taking photos of all the coverage to document what has been achieved.
It takes between 12-15 minutes to complete the scoring and photographing of the work provided.
Watch the Video: Grading the Toughest 25 Square Feet of Tile You'll Ever Install
The 9:14 minute Certified Tile Installer Grading The CTI Test video:
Thank you, Sal DiBlasi for creating and sharing this video about grading the Certified Tile Installer program hands-on test.
Are you considering becoming certified? Let us know in the comments what questions you have about becoming a CTI.
Note: We originally published this article on 02/20/2018, and have updated it.
Note that the CTI hands-on test continues to evolve. See From Bullnose to Metal Transition Profiles: CTI Hands-On Test Evolves

