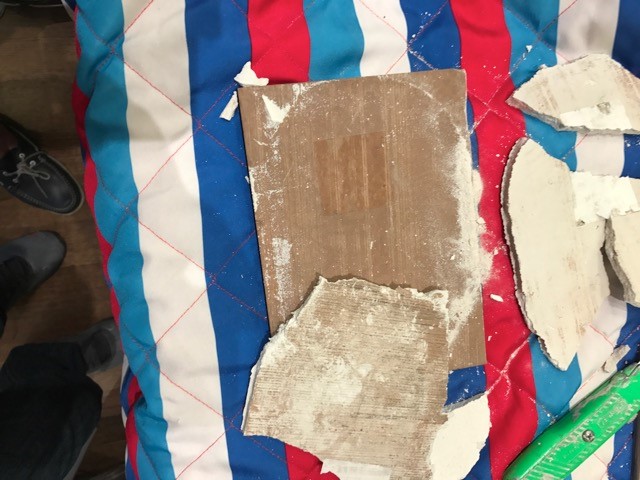
Here we have a pyrite wall failure. What do you think it teaches about proper tile installation?
On this blog, you read about best practices for quality tile installations and how Certified Tile Installers (CTIs) go about installing tile. You've also heard them refer to having their work taken apart and inspected as part of the CTI hands-on test.
That same approach is how Mark Heinlein CTI #1112, and Robb Roderick CTI #727 troubleshoot tile installation issues in their role as National Tile Contractors Association (NTCA) Technical Trainers. In this article, they respond to a failed installation of pyrite tile on a wall.
What is the situation with this pyrite wall failure?
Experts Mark Heinlein and Robb Roderick received the images included in this blog article, along with a description of the pyrite wall failure.
In this situation, a tightly fit installation consisting of natural pyrite installed in a dry bathroom area for about 30 days had started falling off the walls at a pretty steady rate.
Known facts:
- Improved Modified Thinset was used.
- The substrate appears to be gypsum board with a skip-troweled and painted finish.
- Rather than properly preparing or removing and replacing the existing substrate, the installer used thin-set mortar to build up and flatten the installation as it was being tiled.
- The installer used some variation of spot bonding to achieve roughly 80% coverage, but had very little mortar transfer on the back of the tile.
The installer reportedly believed the failure to be the result of dust coming off the tile backing and preventing adhesion.
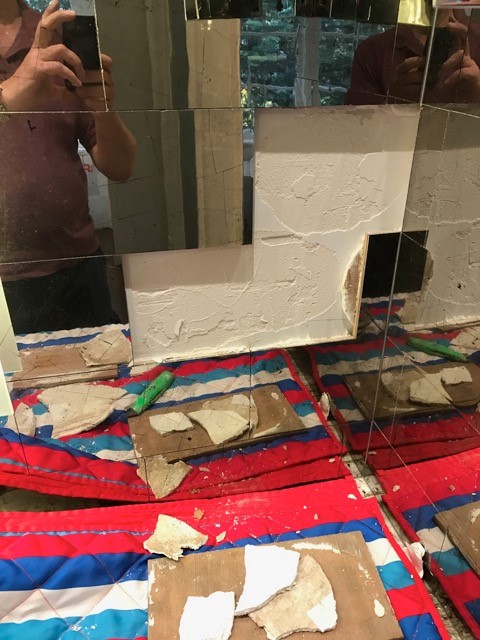
What observations do Mark and Robb have about this pyrite wall failure, and what are the implications?
As Robb and Mark review the information they have received, they note the following factors contributing to the failure of this installation:
- It appears that the tile was butted together. Tile and definitely wood-framed substrate found in most homes are not dimensionally stable. That means they change shape and size when there is a change in temperature or humidity. Without proper expansion joints and with these tiles butted together, very little movement or expansion is needed to cause a failure like this.
- The installer is correct that dust on the tile is a contributing factor. The back of the stone tile was likely not properly cleaned or dampened, or back-buttered prior to being installed as recommended in the Mortar and Mortar Coverage section of the TCNA Handbook. This could have been prevented/corrected at the time of installation, in addition to several other problematic areas that likely contributed to the failure.
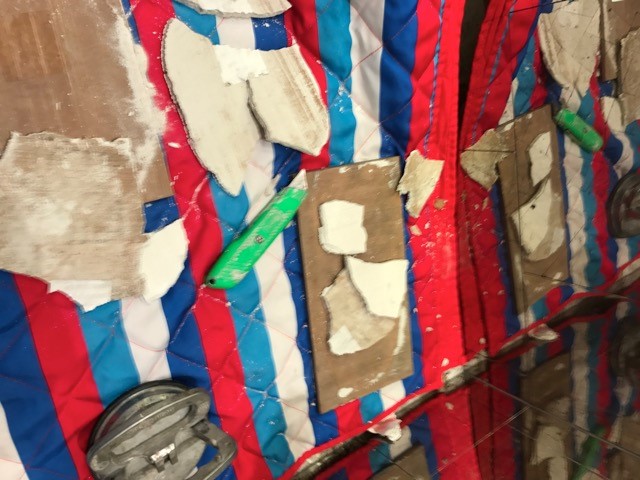
- The substrate appears to be a skip-troweled type of finished gypsum drywall, which may not be properly prepared to receive or support a tile installation and was very likely not made flat and plumb prior to installing tile. Thin-set mortar is not the appropriate material to make a substrate flat or plumb at the time of tile installation. Mortar manufacturers make rapid-setting patch materials that work very well for this. Or, a mud bed method may have been more appropriate. Or, a carpenter could have been employed to true the framing and bring it into tolerance before the substrate was installed.
- It appears the maximum bond coat thickness recommended by the mortar manufacturer has likely been exceeded.
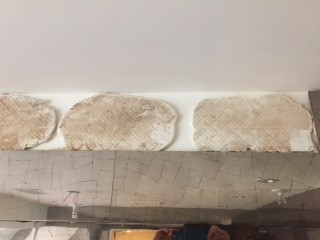
- The spot bonding technique was used to set the tiles.
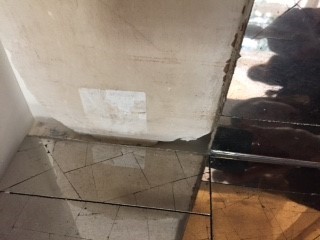
- The substrate appears to have a bond breaker (paint?) on its surface, or it was not cleaned.
- Straight line troweling techniques with an appropriately sized trowel were not used to achieve consistent 95% coverage with no voids as required by the TCNA Handbook for stone tiles in all areas.

- The tiles were tightly fitted with a butt joint. All tile installations must have a grout joint.

- The tiles also appear to be tightly fitted at the changes in plane. A soft joint of at least 1/8” must be provided at changes in plane (i.e., wall to wall and wall to floor). This joint should not be grouted, but it is to be filled with an appropriate, properly rated sealant manufactured for this purpose. ASTM C920-rated sealant is recommended.
- The mortar may not have been properly mixed or prepared in accordance with the manufacturer's instructions.
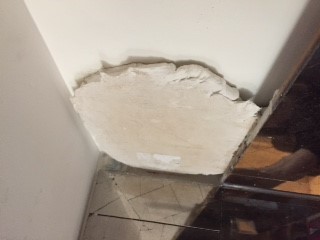
- The mortar may have exceeded its pot life or was allowed to skin over prior to the installation of the tile.
Pyrite Wall Failure Installation Solution
Based on what Robb Roderick and Mark Heinlein highlight in their troubleshooting observations, here are resources describing how to install tile correctly:
>> See Why Do You Need Expansion Joints When Installing Tile?
>> See The Top Ten Requirements for a Quality Tile Installation
>> See Do You Have Enough Mortar to Accommodate Most Tile Warpage?
>> See ANSI Standards: A Tile Installer's Best Friend!
>> See Why You Need to Eliminate Spot Bonding When Installing Ceramic Tile
>> See How to Correctly Trowel Mortar When Installing Tile?
>> See Why a Tile Installation Mockup is Really Necessary
Also visit The Tile Installation Experience with Scott Carothers at Coverings.
What Lessons Have You Learned from Tile Installation Failures?
Certified Tile Installers feel strongly about learning from failures. What lessons have you learned?
>> See The CTI Credo
If you haven't already, consider becoming a Certified Tile Installer so you can learn how to anticipate tile installation problems before they occur.
Thanks for reading.
Image credit: Ann Sacks
Note: We originally published this article on 01/31/2017.

